Create and Update DOIs with File Upload
About File Upload
Repositories can register DOIs and update metadata using the File Upload in DataCite Fabrica.
Only Repository accounts can create and update DOIs
If you're not seeing the Create DOI or Update DOI buttons, make sure you're logged in with a Repository account.
Create a DOI
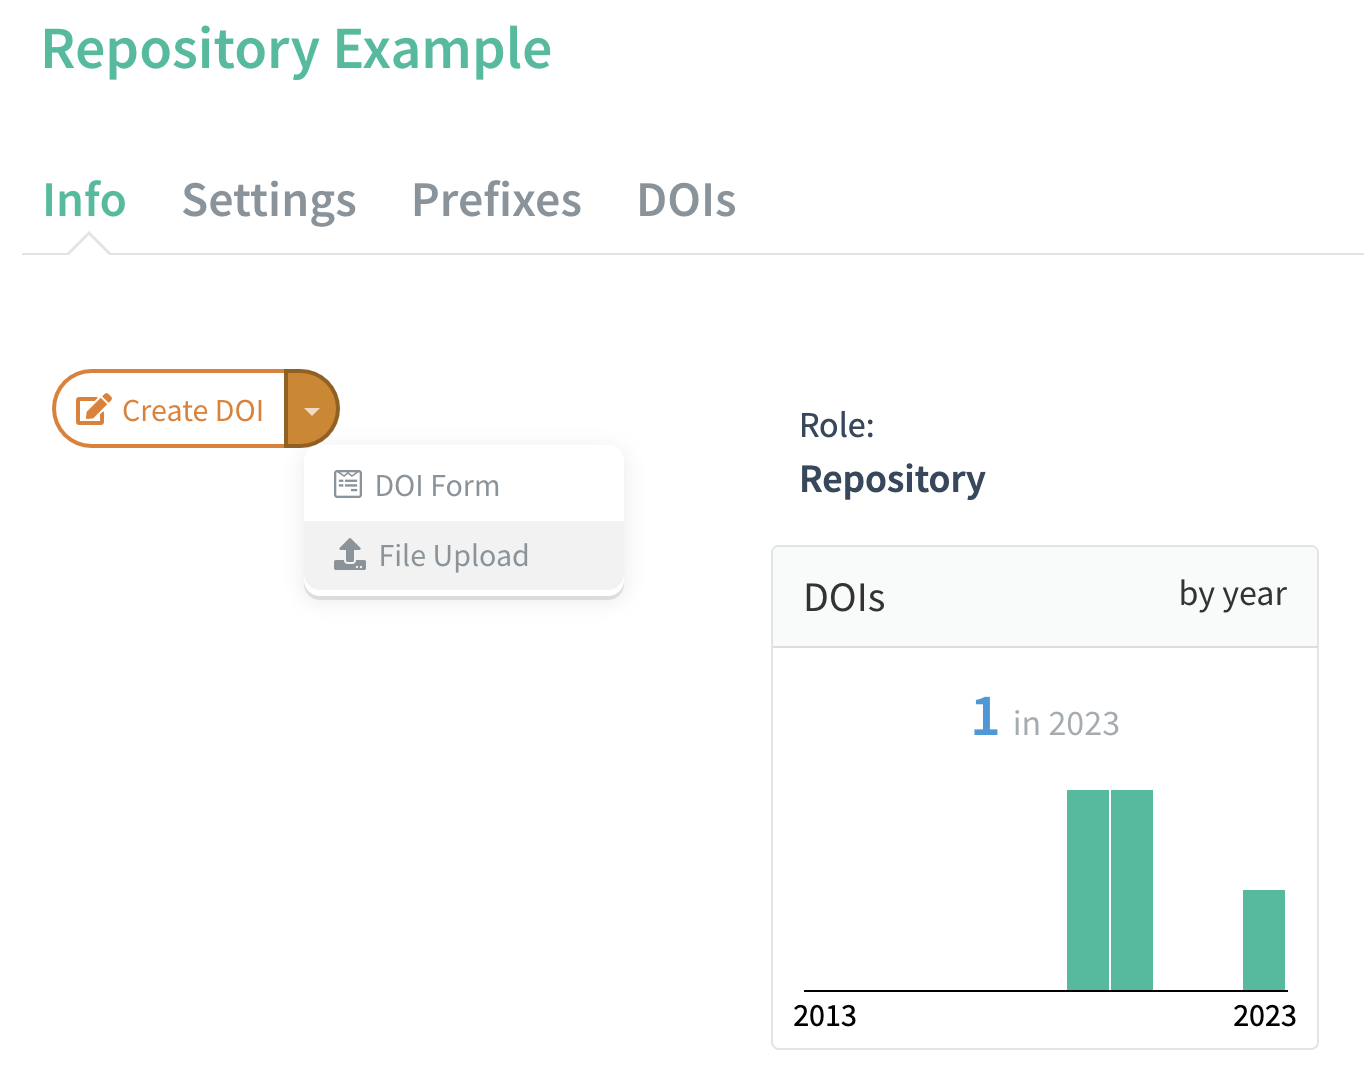
Repositories can access the File Upload through the "Create DOI" button, which appears on the left side of all tabs of the Repository dashboard. Click the arrow next to the "Create DOI" button and select "File Upload".
Once you have entered the metadata—either by adding it to the text box or through "Upload File"—click the "Create DOI" button at the bottom of the page. Your DOI will be saved and the DOI record page will be displayed.
For more information on using the File Upload tool, refer to Field Descriptions below.
Detailed descriptions of metadata requirements and field examples are included in the documentation for the DataCite Metadata Schema.
Update a DOI
Repositories can update the metadata for any of their DOIs or Draft records.
From the DOIs tab of the Repository Dashboard, select the DOI you want to update.
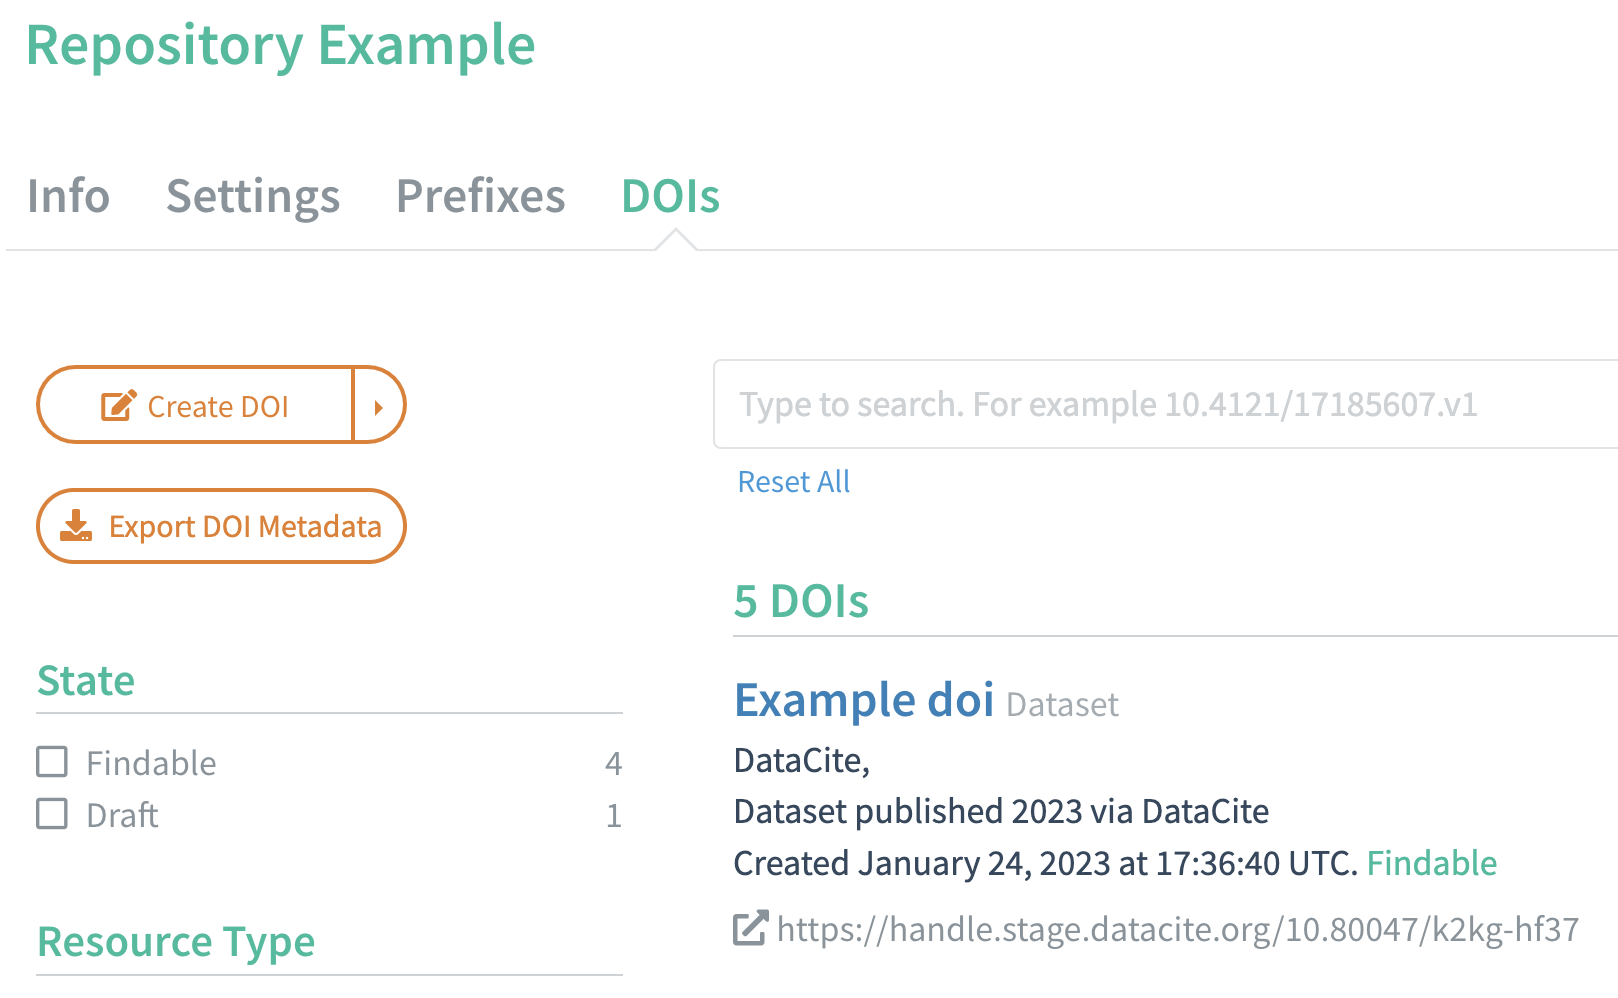
In the upper left corner, click "Update DOI (File Upload)" to access the File Upload.
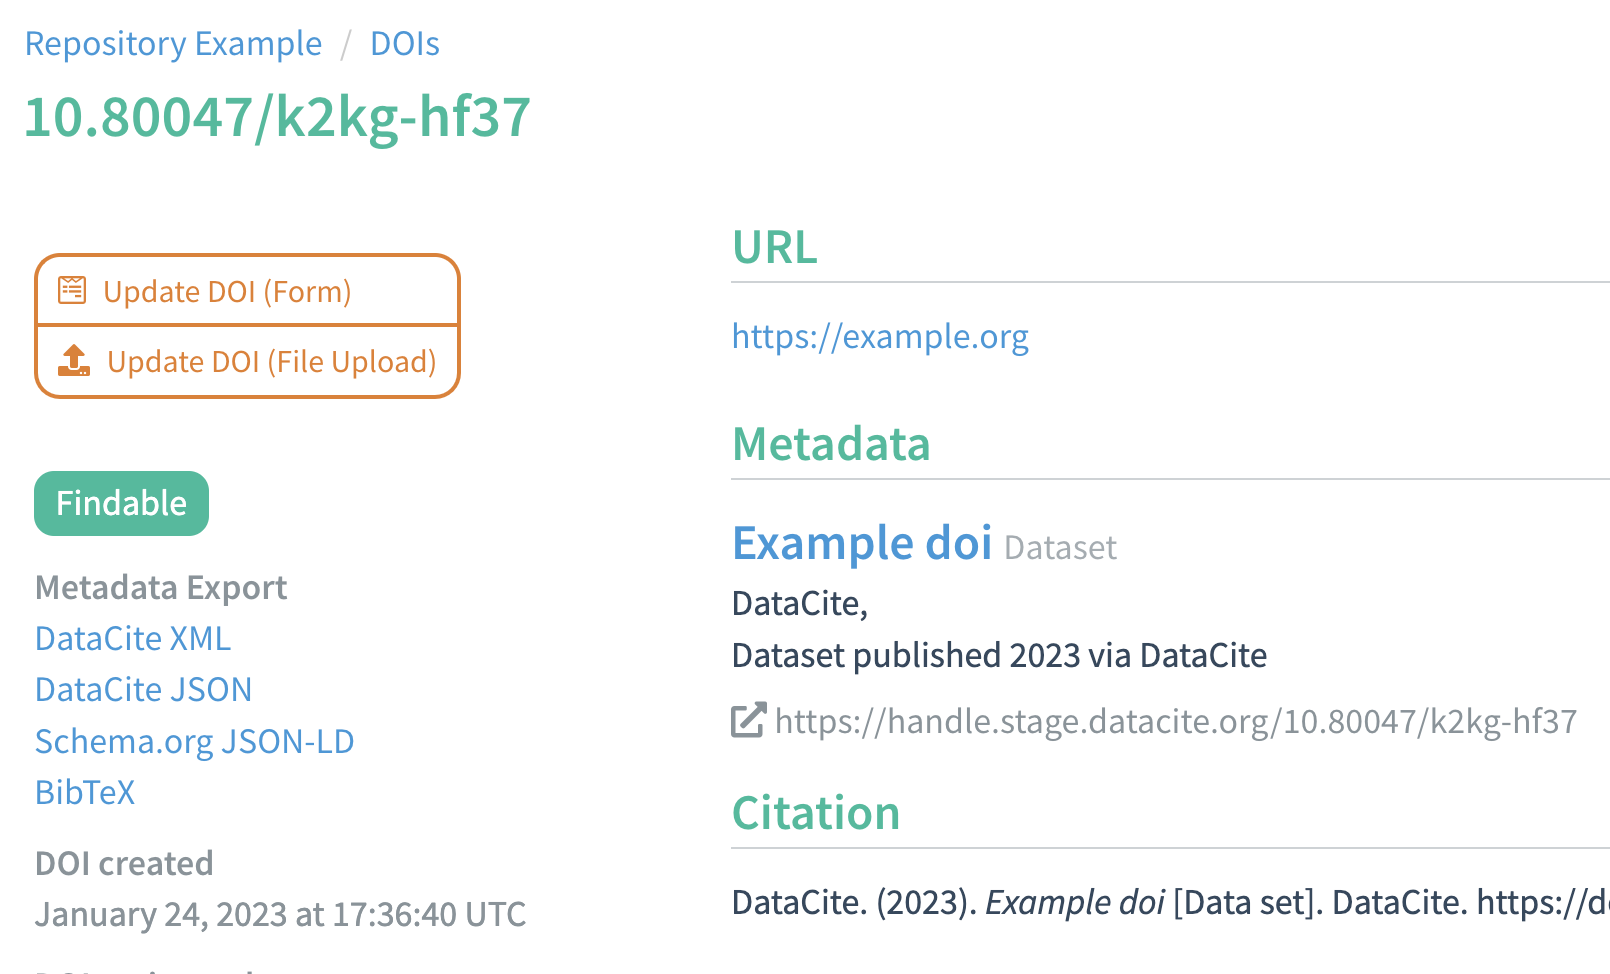
You can update the URL, state, and metadata. Only the DOI name itself cannot be changed.
Draft records can be updated to either Registered DOIs or Findable DOIs. Registered DOIs can be updated to be Findable, and Findable DOIs may be changed back to Registered state. Neither Registered nor Findable DOIs may be returned to the Draft state. This means that updating a Draft to another state is final. For more information, see DOI States..
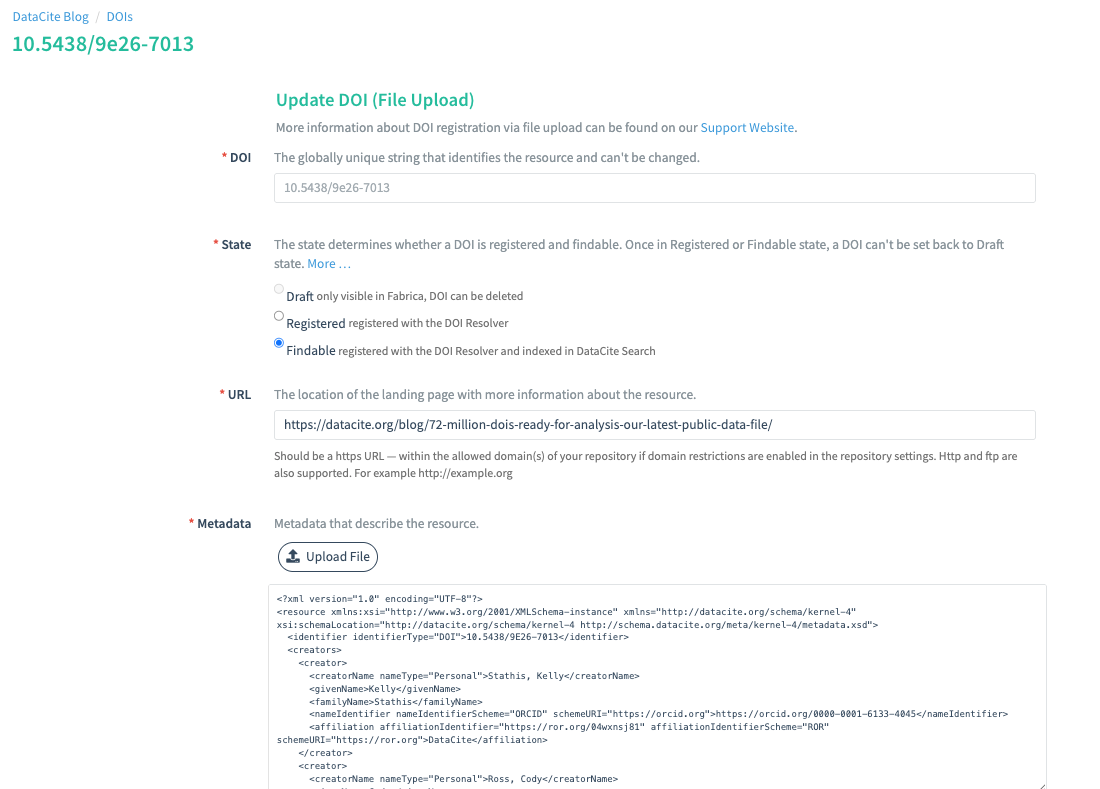
Once you've filled in the appropriate fields, click "Update DOI" at the bottom of the page. Your changes will be saved and the DOI record page will be displayed.
Field Descriptions
DOI
The DOI field is where you set the DOI you would like to create. This field corresponds to the Identifier property in the DataCite Metadata Schema.
The DOI prefix is automatically populated. If your Repository has more than one prefix, select one of the available prefixes from the dropdown box on the left.
By default, a DOI suffix is randomly generated. To randomly generate a new suffix, click the refresh icon to the right of the DOI field. Use the "X" icon on the right to clear the contents. You can also manually specify a suffix in this field.
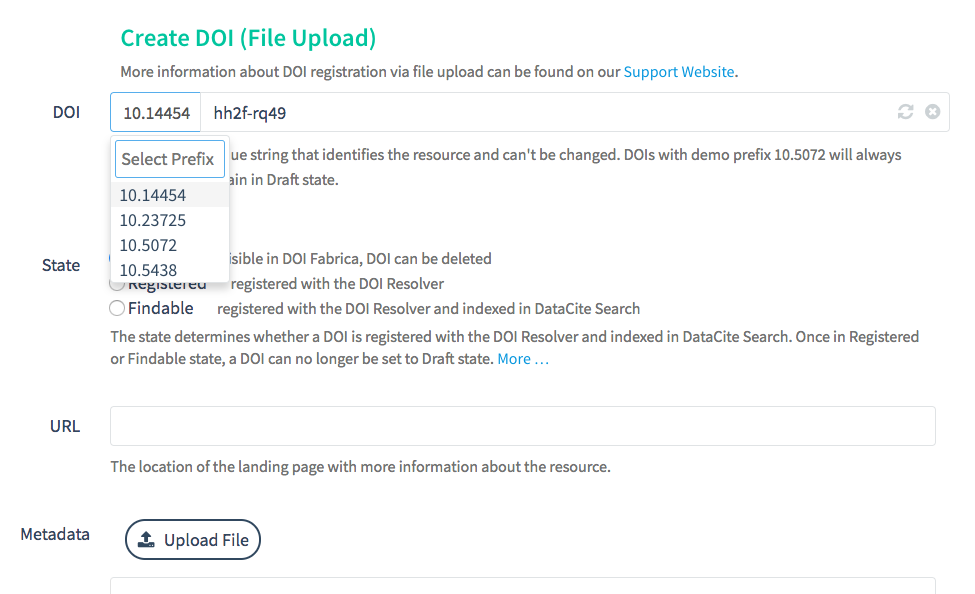
The DOI field takes precedence over the
<identifier>propertyIn the case of a mismatch, the DOI in the metadata will be replaced by the DOI that appears in the DOI field at the top of the page.
State
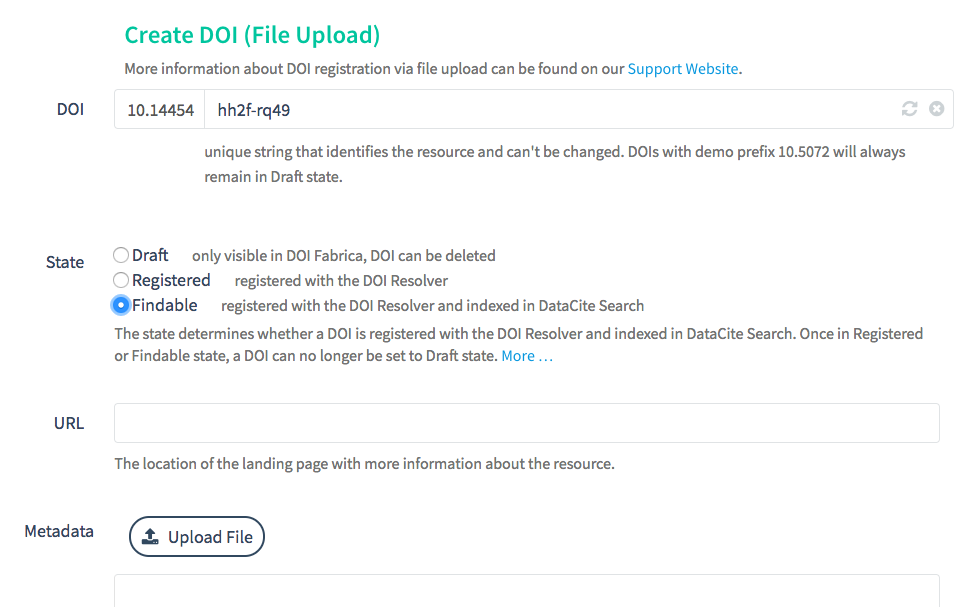
Use the state selection radio buttons to select a DOI state.
- Draft records are not yet registered within the global Handle System, which means the identifier can be deleted. Draft records require only the identifier number in order to be created or saved. It is not necessary to enter a valid URL or valid metadata when creating a Draft.
- Registered DOIs are registered with the global Handle System. However, metadata for Registered DOIs is not openly available.
- Findable DOIs are registered within the global Handle System. Metadata for Findable DOIs is openly available and indexed in DataCite’s APIs and DataCite Commons.
URL
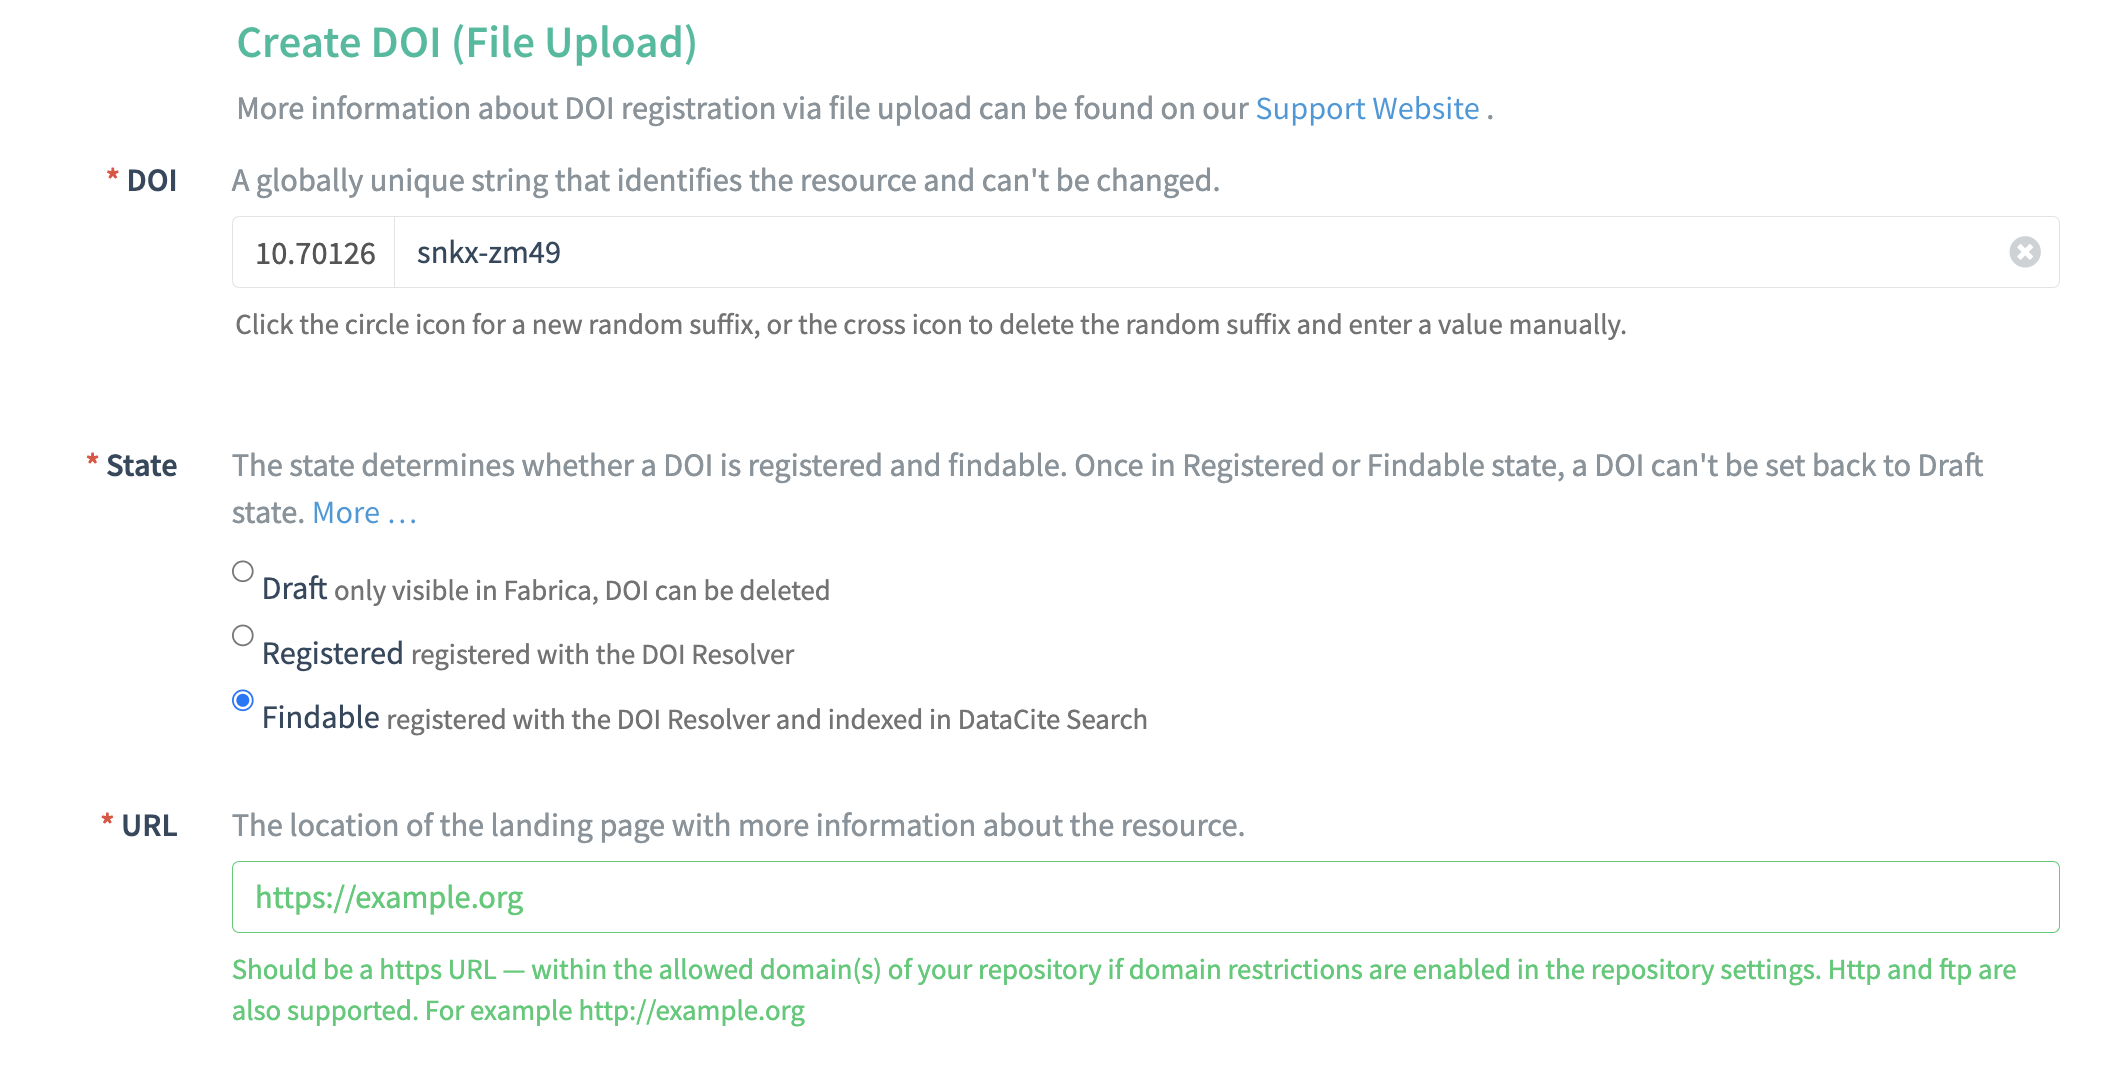
Enter the URL of the landing page that the DOI points to.
The URL must be fully formed, as in https://www.datacite.org instead of datacite.org. URLs containing https:// are encouraged.
Fabrica will verify that the URL is within the allowed domains for your repository. If the URL is allowed, the field will turn green. If the URL is not allowed, the field will turn red and display an error message.
Metadata
Upload a file or copy and paste
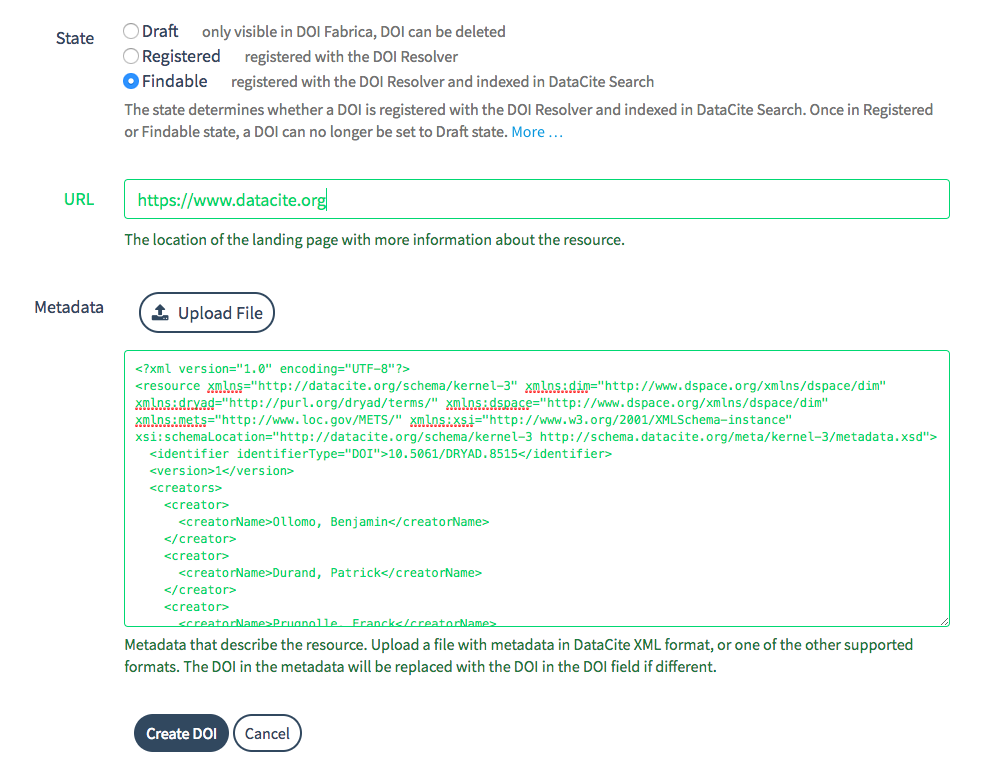
Upload metadata by clicking "Upload File" or adding a complete metadata record to the text box.
The following formats are accepted:
- XML
- JSON (either citeproc, schema.org, or codemeta formats)
- bibTeX
- RIS
All metadata will be converted to DataCite XML after you save the DOI record. For more information, see [What formats can I use to submit metadata?](https://support.datacite.org/docs/what-formats-can-i-use-to-submit-my-metadata-and-how-do-i-do-it
If the metadata is valid, the field will turn green. The field will turn orange or red as a warning if the input cannot be validated.
About validation in the DOI File Upload
Metadata is validated for Findable and Registered DOIs in the DOI File Upload.
In the case of Draft state, there is no validation, so you will not be prevented from saving. If you later update a Draft to a different state, you will need to resolve any resulting validation errors first.
Watch this short tutorial to learn more about validating XML metadata:
Harvest metadata from a landing page
Another way to upload metadata is from a landing page that uses schema.org or from a software repository that uses codemeta. In either case, you can enter the URL of the landing page or software repository by itself in the metadata field. When the DOI is saved, Fabrica will automatically retrieve the metadata from the landing page or software repository and use it to populate the DOI record.
Updated 6 months ago
